Introduction
The Project section in OtasAI tool allows users to create and manage projects, with the added functionality of designating a default project for the workspace. This documentation outlines the process of adding a new project.
Prerequisites
- An active user account
- Necessary permissions to create a project
- Active license that allowed you to create multipe projects
Step-by-Step Guide
Step 1:
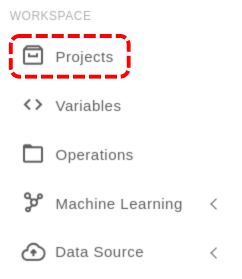
- Navigate to the 'Projects' section from the main menu under the "WORKSPACE" section.
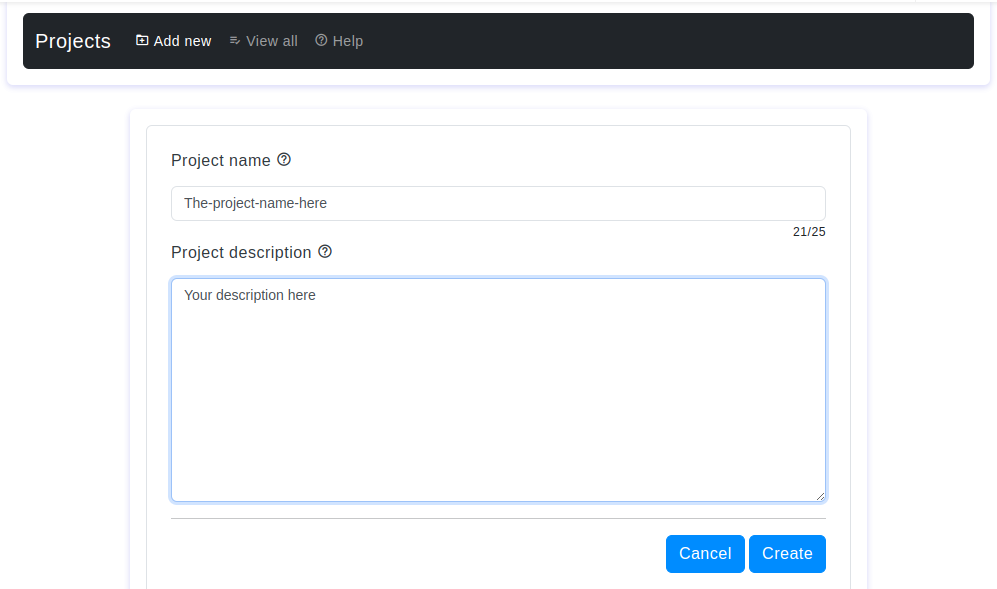
- Click on the 'Add new' button."
Step 2:
- Enter the project name and description in the respective fields.
4. FAQs
- Q: Can I edit the project details after creating it?
A: After creating the project, the name cannot be edited.
The project description is editable after creation. - Q: Are there any character limitations for the project name and description?
A: Yes, according to the table below:# Parameter Project Name Project Description 1 Max Length 25 characters 1000 characters 2 Required Yes Yes 3 Default Value None None
Troubleshooting
- You can't use the same name for multiple projects; each project name must be unique.
- You can't add spaces or special characters to the project name.
Contact Support
If you need additional help, please contact our support team at support@otas.ai, or please feel free to use our contact us form.

